
The process of building a custom PC starts with learning the basics of PC parts, followed by selecting, purchasing, assembling, wiring, checking for proper operation (and troubleshooting), and finally setting up the system.
For those trying a custom PC for the first time, it may seem a bit complicated.
However, if the overall process is understood and knowledge about PC parts is properly acquired, building a custom PC is actually easier than expected.
![]() Ken-san
Ken-san
If PC parts are purchased without understanding their specifications, issues like incompatible slots or mismatched sizes can occur, so knowledge about PC parts is very important.
Also, knowing how much time each step takes can help visualize how long it will take to build a custom PC.
This article will explain in detail the steps to build a custom PC and the approximate time required for each stage.
Select PC parts and online stores to instantly generate an estimate, check compatibility, and calculate power requirements. You can save up to five different builds, making it easy to try out multiple configurations.
≫ Tool:PC Parts Estimation & Compatibility Check Tool

Table of Contents
The Overall Process of Building a Custom PC
After understanding the general flow of building a custom PC, each step will be explained in detail.
First, let’s look at the basic steps to build a custom PC.
Now, let’s take a closer look at each step.
Learning About PC Parts

First, it is necessary to study the knowledge of PC parts.
![]() Ken-san
Ken-san
Without this knowledge, it is hard to know:
- How much performance is needed.
- What to adjust if the budget is exceeded.
- If the PC can be assembled with those parts.
If mistakes are made here, the PC may not be as comfortable as expected, or parts may need to be repurchased, so it is important to study well.
A summary of how to choose each part based on their roles, performance, and compatibility is available for reference.
≫ Related article: PC Parts List and Explanation for Beginners
Selecting PC Parts

Once some knowledge is gained, start selecting PC parts.
However, since there are more than 10 types of PC parts, it can be difficult to know where to start.
Based on experience, here is one example of a good order to decide parts:
- CPU, Graphics Card
- Memory, Storage
- CPU Cooler, Motherboard, Power Supply Unit
- PC Case, Case Fans
First, choose the CPU and graphics card, which directly affect processing performance and make up a large part of the total cost.
The main purpose of a computer is to process tasks and get comfortable performance for your needs, so processing power is the most important.
Also, it is important to decide the main parts first, so the more expensive CPU and graphics card are chosen before other parts.
Next, choose memory and storage, which are directly related to basic performance.
Capacity is especially important for both, but refer to the part explanations for how to choose.
≫ Related article: PC Parts List and Explanation for Beginners
Once these are decided, the rest can be chosen step by step.
Once the CPU is chosen, the socket type helps decide the CPU cooler.
The motherboard can be narrowed down by whether it supports Intel or AMD and by memory type.
Once the CPU and graphics card are chosen, the required power can be estimated, so the power supply wattage can be selected.
Once the motherboard, power supply, and storage configuration are decided, the PC case can also be chosen.
In this way, by deciding the CPU, graphics card, memory, and storage, which are directly related to basic performance, other parts can be narrowed down based on compatibility such as socket type and standards, making it easier to choose the rest.
Once everything is roughly decided, fine-tune according to the budget.
The order of choosing parts is based on experience, but there are many other ways, so there is no need to stick to this method.
Purchasing PC Parts
Once the parts are selected, the next step is to purchase them.
There are several main ways to buy parts:
- Buying parts at physical stores
- PC manufacturer online stores
- Major online stores like Amazon
For first-time builders, it is recommended to buy parts at a parts shop.
The biggest advantage is that when bringing parts to the register, the staff will quickly check compatibility.
For example, if the socket type is different, they may ask if you still want to buy, which acts as a safety net (based on real experience).
However, not all staff may do this, so if unsure, it is good to ask about compatibility and performance.
When asking, be ready to explain your intended use and budget.
![]() Ken-san
Ken-san
Also, visiting a store is exciting because motherboards, PC cases, and graphics cards are lined up.
You can also try out mice and keyboards to check usability before buying.
Some parts shops offer insurance that allows replacement if a part is damaged during assembly, which is recommended for those worried about assembly.
![]() Ken-san
Ken-san
However, even though there are many parts, there may be fewer options than online, so it may not be possible to buy exactly what was selected.
So, it may be necessary to come back later, order missing parts online, or consult with staff and adjust as needed.
If there are no parts shops nearby or if you want to use only the parts you selected, use PC manufacturer online stores or major online stores like Amazon.
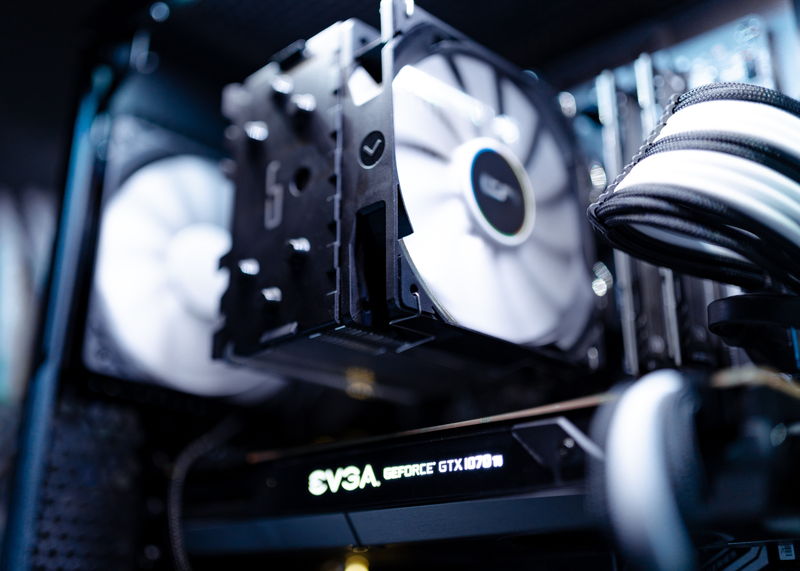
Assembling the PC
For beginners, studying parts can take a lot of time and the process may seem long, but after buying the parts, it’s finally time to assemble the PC.
The general steps for assembly are as follows:
- Install the CPU, CPU cooler, memory, and M.2 SSD on the motherboard
- Install the motherboard into the PC case
- Install the graphics card
- Install storage (SATA SSD / HDD)
- Install the power supply unit
- Install case fans
- Connect cables for power and data transfer
The order may change depending on the parts and case structure, but this is the general flow.
First, install the small parts on the motherboard.
Then, put the motherboard into the case and attach the other parts.
For the graphics card, storage, power supply, and case, the order can be chosen freely.
Also, be sure to take anti-static measures during assembly.
For example, touch the metal part of the PC case or a metal doorknob before working to discharge static electricity, or use anti-static pads or gloves.
Static electricity during assembly does not always cause parts to fail.
However, if the PC does not work during the operation check, it becomes difficult to tell if the cause is static electricity, a defective part, or a cable connection mistake.
Sometimes, parts may work but have lower performance or occasional problems, making it even harder to find the cause.
Therefore, static electricity can be troublesome, so be sure to take proper precautions.
![]() Ken-san
Ken-san
Wiring the PC

After assembly is finished, wiring is done.
The wiring points are as follows:
- Connect power supply cables from the power unit to each part
- Connect data transfer cables between the motherboard and storage (SATA SSD / HDD)
- Connect cables between the motherboard and case fans
- Connect cables for the front panel interface
Some people may think that as long as the cables are connected, it doesn’t matter, especially if the inside is not visible, but it is better to organize them as much as possible.
Besides appearance, messy cables can block airflow and affect cooling, or touch circuit parts and cause problems.
Also, although it may seem like just connecting cables, it actually takes more time than expected.
When I built a custom PC before, it took about 30 to 40 minutes.
- “If I route the cable through this hole, it will look cleaner…”
- “The cables are crossing, so I’ll fix that…”
- “The cables are dangling, so I’ll secure them…”
Trying to make it neat often means reconnecting cables several times, which takes time.
Honestly, how much to do is up to each person, but at least make sure the wiring does not block airflow or touch circuits and cause problems.
Finally, check that all cables are connected correctly, and before closing the side panel, turn on the power to test and make sure there are no problems.
Operation Check (Troubleshooting)
After assembly and wiring, it’s time to turn on the PC and check if it works.
If the BIOS screen appears without problems, it’s a success and the setup step can begin.
However, if it does not start, the cause must be found and fixed.
The first power-on after building a custom PC is a tense moment, but if it does not start or an unexpected error appears, it is important to calmly check each point one by one.
This step can sometimes be finished instantly, or take several days if there are problems.
There are many possible causes, from simple to complex.
However, simple mistakes like forgetting to connect a cable are common, so check that first.
Some may think, “There’s no way I’d forget a cable…” but with many cables and assumptions, it can happen.
If it works on the first try or the problem is found quickly, this step is done quickly, but if the cause is hard to find, patiently keep checking until it is found.
Setting Up the PC

The main setup steps are:
- Installing and setting up the OS
- Downloading, installing, and setting up the applications you use
The last step in building a custom PC is software setup.
When installing the OS, specify the installation drive, set up the account, language, and other settings.
After this, the familiar desktop screen should appear.
Next, download and install the applications you plan to use.
For example, Office, games, video editing software, or development environments for programming, depending on your needs.
Once these settings are done, the custom PC is complete.
Approximate Time for Each Step
If there is no idea how long each step takes, it is hard to estimate when the custom PC will be finished, so here are some reference times based on real experience.
First, do not worry if it takes longer than these times. These are just guidelines.
Go at your own pace, and just think, “Oh, it takes about this long.”
| First Custom PC (2012) | Most Recent Custom PC (2023) | |
|---|---|---|
| Learning About PC Parts | 2 weeks to 1 month | 1 hour |
| Selecting PC Parts | 1 week | 1–2 hours |
| Purchasing PC Parts | 6 hours | 10 minutes |
| Assembling the PC | 2 days | 1 hour |
| Wiring the PC | 40 minutes | |
| Operation Check | 10 minutes | |
| Setting Up the PC | 40 minutes |
For the first custom PC, I started studying parts after deciding to try building one.
At that time, there were no YouTube channels about custom PCs, so it took a lot of time to gather information from magazines and blogs.
I carefully chose the parts, but since it was my first time, I was always worried, “Can I really do what I want with these specs?” or “Can I really assemble with these parts (compatibility)?”
There was no one nearby to consult, so in the end, I went to a store and asked the staff.
That quickly solved my worries, and I thought, “As expected of a pro,” and “I should have asked sooner.”
For purchasing, I visited several stores to see if they had the parts I wanted and which was cheaper, so including travel time, it took quite a while.
Also, since this was over 10 years ago, I don’t remember the exact times, but from assembly to setup, it took more than a day.
I remember having trouble with operation check, leaving parts scattered in my room, and sleeping while thinking they were in the way, so it probably took two days.
Both times were on days off, so maybe it took about 10 hours in total.
In the end, I was able to finish after fixing some careless mistakes during operation check.
That’s how my first custom PC went.
For the most recent custom PC, since it was my 5th or 6th, I was used to it, quickly checked the latest parts, and chose them.
I bought the parts online and assembled them as soon as they arrived.
For the later steps, I kept notes on how long they took, so the times are accurate.
Once you get used to it, assembly to setup can be done in about 3 hours.
Even so, professionals may be faster, but this is about average.
This is just for reference, but hopefully it helps with planning your own custom PC build.
Summary: Building a Custom PC Takes Time, But It’s Worth It!
This article explained the steps from learning about PC parts, selecting, purchasing, assembling, wiring, operation check (troubleshooting), to setup.
For first-time builders, it may seem like a long journey, but if the process is understood and knowledge about parts is acquired, building a custom PC is easier than expected.
Also, the sense of achievement when the PC built by yourself works, and the satisfaction of having a PC tailored to your preferences, is really great, so definitely give it a try.
Select PC parts and online stores to instantly generate an estimate, check compatibility, and calculate power requirements. You can save up to five different builds, making it easy to try out multiple configurations.
≫ Tool:PC Parts Estimation & Compatibility Check Tool