
When building a custom PC, screws are necessary to attach each component.
Screws are used in various places, such as the PC case cover, different types of storage, power supply unit, CPU cooler, and PC case fans.
In custom PC building, there are not too many types of screws. The types are fairly standardized, so no matter which parts are used, only three types of screws are needed.
Understanding the types of screws, how to identify them, and where to use them in advance will make the assembly process smoother.
If the wrong type of screw is used, it may damage the screw hole and make it impossible to attach the part, so it is important to know this well.
Tips for tightening screws are also introduced, so please use them as a reference.
- Screws are used in various places to secure parts
- Screws are included with the PC case or motherboard, so purchasing is usually unnecessary
- There are three types: metric screws, inch screws, and small screws for M.2 SSDs
- Metric and inch screws can be distinguished by their pitch (groove width)
- Tip for tightening screws ①: Use less torque (gentle force)
- Tip for tightening screws ②: Temporary tightening and final tightening
- Tip for tightening screws ③: Diagonal tightening
Select PC parts and online stores to instantly generate an estimate, check compatibility, and calculate power requirements. You can save up to five different builds, making it easy to try out multiple configurations.
≫ Tool:PC Parts Estimation & Compatibility Check Tool
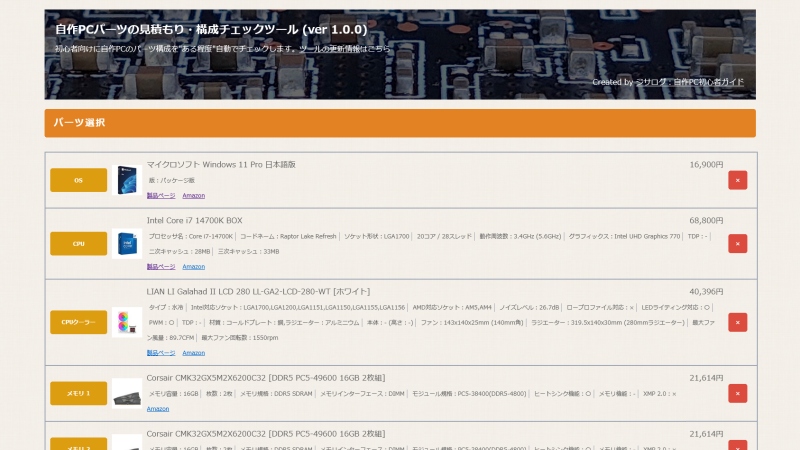
Table of Contents
Basic Knowledge of Screws for Custom PCs
First, the basic aspects of screws used in custom PC building will be explained.
Let’s go into detail about these points.
Screws Are Needed to Attach Each Part
When building a custom PC, many screws are used to secure various parts to the case or motherboard.
Unlike plastic models, which can be snapped together, PC parts cannot simply be attached by clicking them into place.
Some parts can be installed just by inserting them into a slot, but basically, screws are needed.
Also, there are three main types of screws used in custom PCs: inch screws, metric screws, and small screws for M.2 SSDs.
The types are fairly standardized, so there are not too many, but it is important to know about these three types.
Screws Are Included with the PC Case and Motherboard
Screws needed for assembly are included with the PC case or motherboard, so there is usually no need to buy extra screws.
Since a generous amount is included, it is unlikely to run out unless a lot of screws are lost or there are many parts.
![]() Ken
Ken
If screws are missing, Screw Set can be purchased separately.
Types and Standards of Screws for Custom PCs
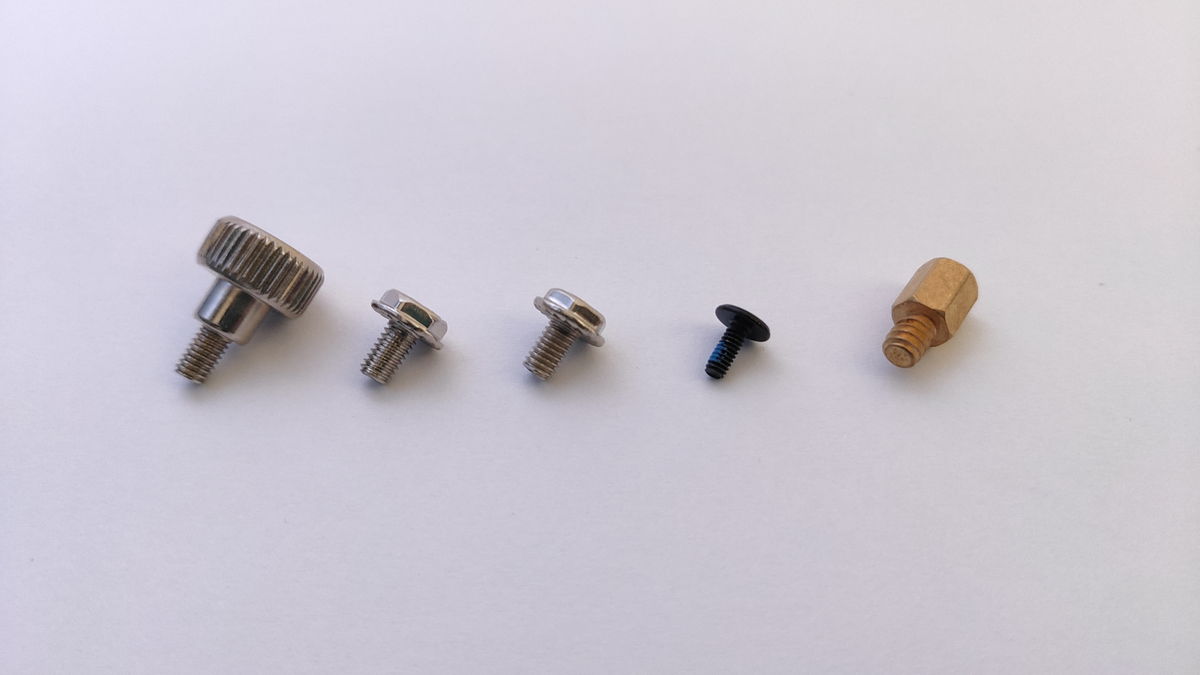
When building a custom PC, there are metric screws, inch screws, and small screws for M.2 SSDs.
There are also spacers, which are a little different from screws but are used to secure parts.
Metric Screws
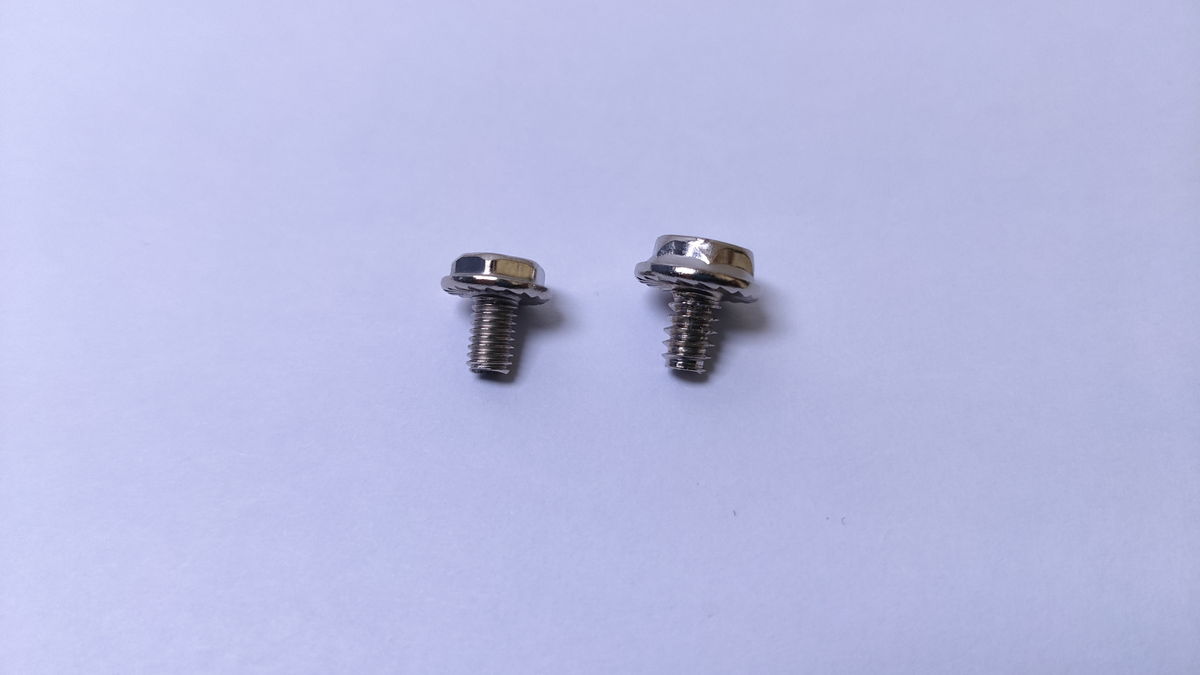
Metric screws are screws whose diameter and pitch (distance between threads) are measured in millimeters.
Compared to inch screws, metric screws have a shorter pitch, meaning the threads are finer.
They are mainly used for the following parts:
- CPU cooler
- SATA SSD
- HDD
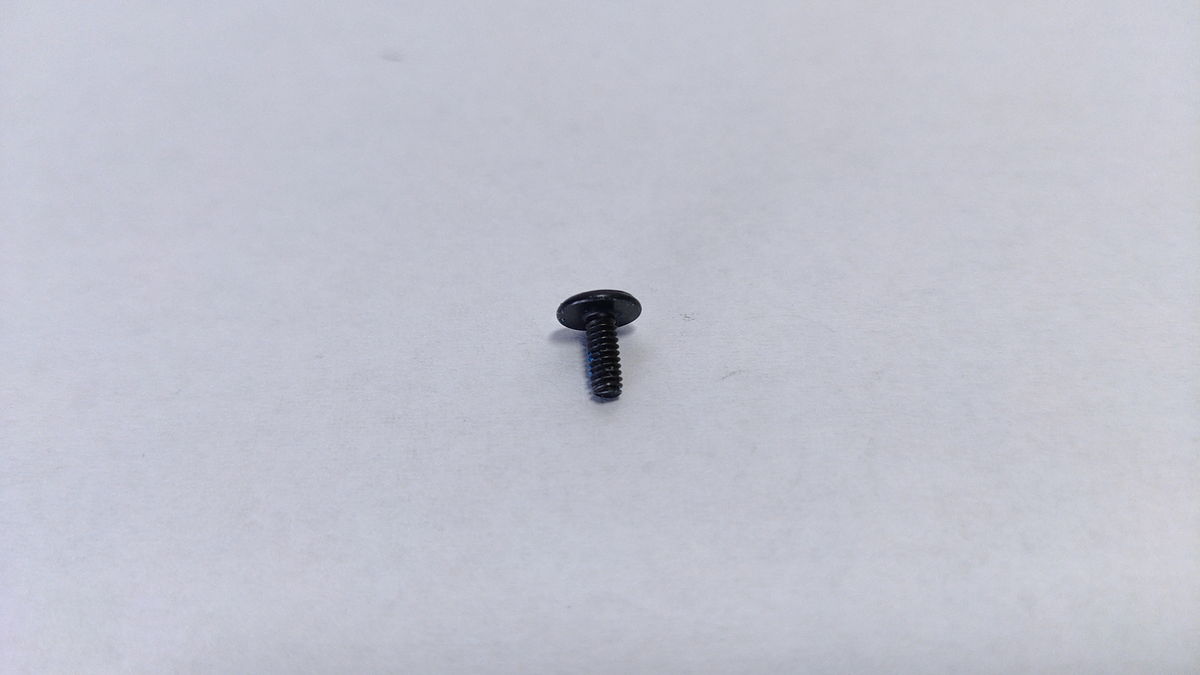
Inch Screws
Inch screws are American standard screws measured in inches.
Compared to metric screws, inch screws have a longer pitch, meaning the threads are coarser.
They are mainly used for the following parts:
- PC case cover
- Motherboard
- Power supply unit
- Graphics card
- SATA SSD
- HDD
Small Screws (for M.2 SSDs)
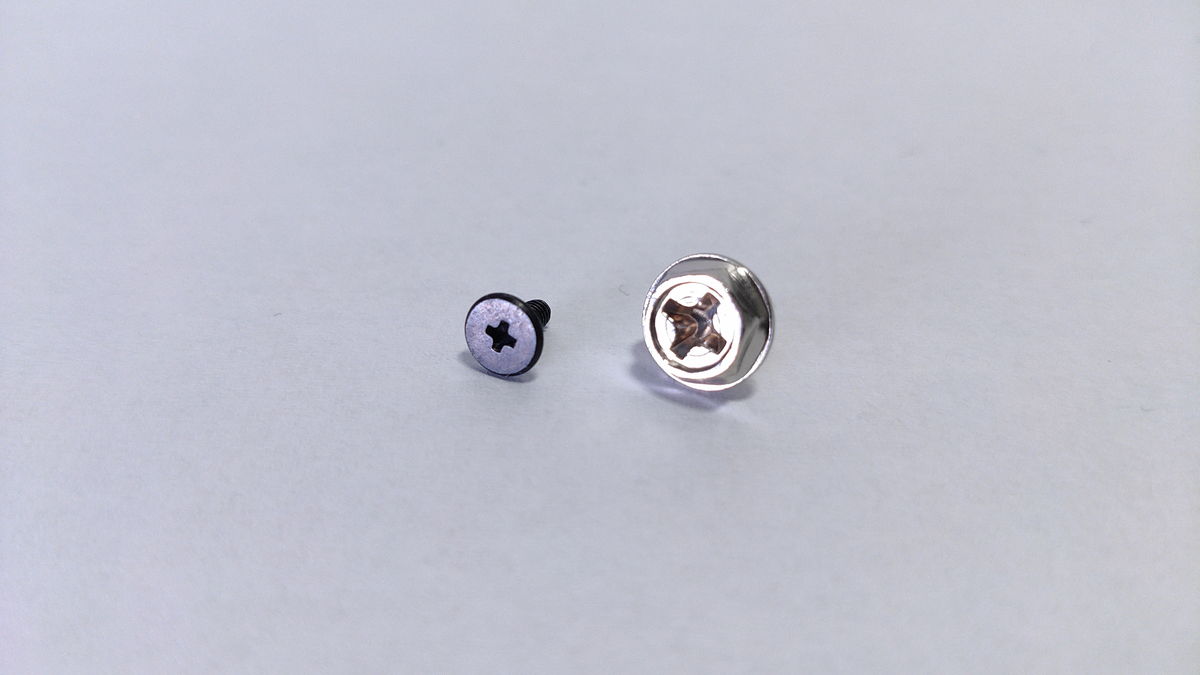
For M.2 SSDs installed on the motherboard, small screws for M.2 SSDs are used.
Technically, these are also metric screws, but they are even smaller than the other metric screws.
These screws are usually included as accessories with the motherboard, but if lost or if installing additional SSDs, they need to be purchased separately.
Usually, M.2 SSDs themselves do not come with screws.
Also, regular screwdrivers used for metric and inch screws are too large for these screws, so a precision screwdriver is needed.
Recommended screwdrivers and other tools for custom PC building are introduced here.
≫ Related article: Tools and Items Needed for Building a Custom PC (Tools, Anti-Static Goods, etc.)
Spacers
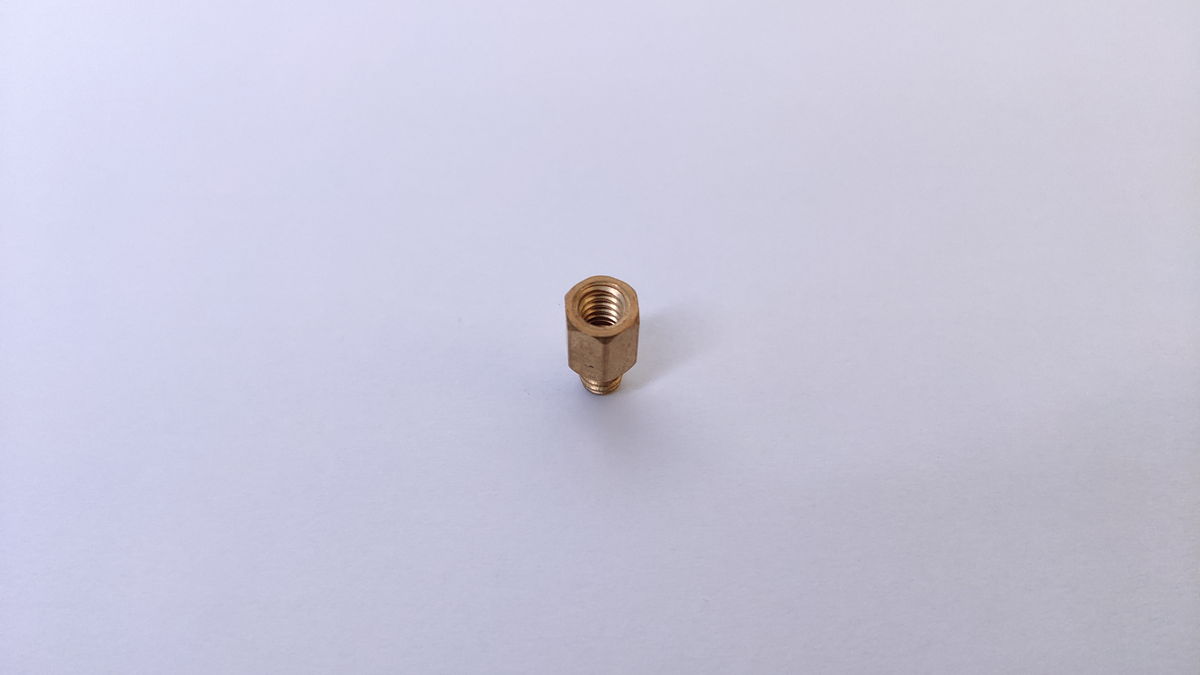
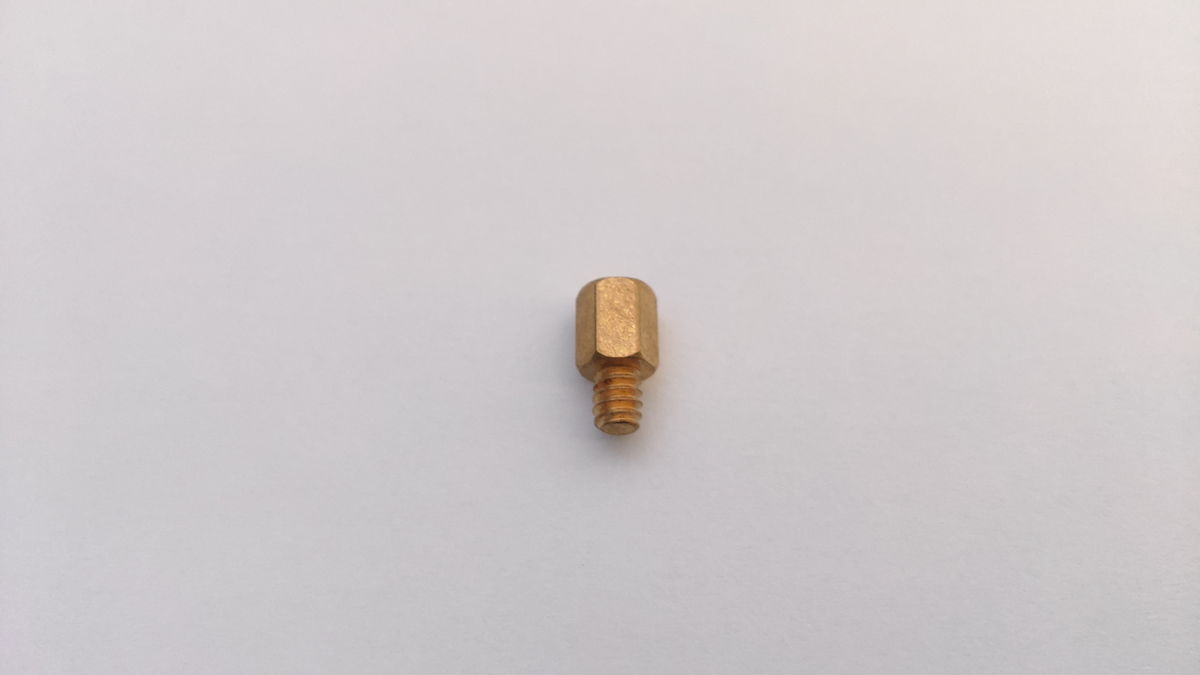
Spacers are not screws, but small metal columns used when attaching the motherboard to the case.
They are also called standoffs.
Motherboards have many small components attached, and the terminals and soldering on the back make the surface uneven.
Because of this, the motherboard cannot be attached directly to the PC case, so a small gap is needed, and spacers serve this purpose.
They also help maintain a proper distance between the motherboard and case, preventing electrical shorts.
Tips for Handling Screws in Custom PC Building
Here are some tips for handling screws when building a custom PC.
How to tighten screws is generally the same as for other tasks, so if you have used screws before, it should be fine.
How to Distinguish Metric and Inch Screws
The main way to distinguish between metric and inch screws is by the pitch (distance between threads).
Metric screws have a short pitch and fine threads, while inch screws have a long pitch and coarse threads.
As shown in the image, the width of the grooves is slightly different.
As for screw holes, it is hard to tell which type they are just by looking.
It is difficult to distinguish screw holes by sight alone.
So, if unsure, try inserting the screw and turning it.
If the screw does not turn smoothly or feels strange when tightened, it is probably the wrong type.
If too much force is used, the screw hole may be damaged or the part may break, so always start by turning the screw gently.
![]() Ken
Ken
Tip ①: Use Less Torque (Gentle Force) When Tightening Screws
When tightening screws, be mindful of the torque (force).
Screws are essential for securing various parts such as the motherboard, case, and power supply unit.
However, proper force is needed when tightening these screws.
If tightened too much, it can damage the motherboard or bend the plate, so be careful.
Never tighten a screw with full force until it cannot move at all.
On the other hand, if the screw is too loose, it will not hold the part securely.
The best is to tighten until it stops with a little extra force.
![]() Ken
Ken
Tip ②: Temporary Tightening and Final Tightening
Temporary tightening means lightly tightening the screw to hold the part in place before final tightening.
By temporarily tightening, the position of the part can be checked and adjusted.
This helps ensure the parts are correctly positioned and reduces the risk of problems.
When using multiple screws, temporary tightening distributes pressure evenly and prevents distortion or damage.
If all screws are tightened strongly from the start, unnecessary stress may be applied and cause distortion.
So, first, lightly tighten the screws to hold the parts in place.
Tip ③: Diagonal Tightening (Cross Tightening)
Diagonal tightening means tightening the screw diagonally opposite to the one just tightened, and repeating this process until all screws are tightened.
This step distributes pressure evenly and prevents distortion.
This is mainly used for motherboards, power supply units, water-cooled CPU cooler radiators, and PC case fans, which use multiple screws.
The specific steps are as follows:
Store Screws in a Small Parts Case During Work
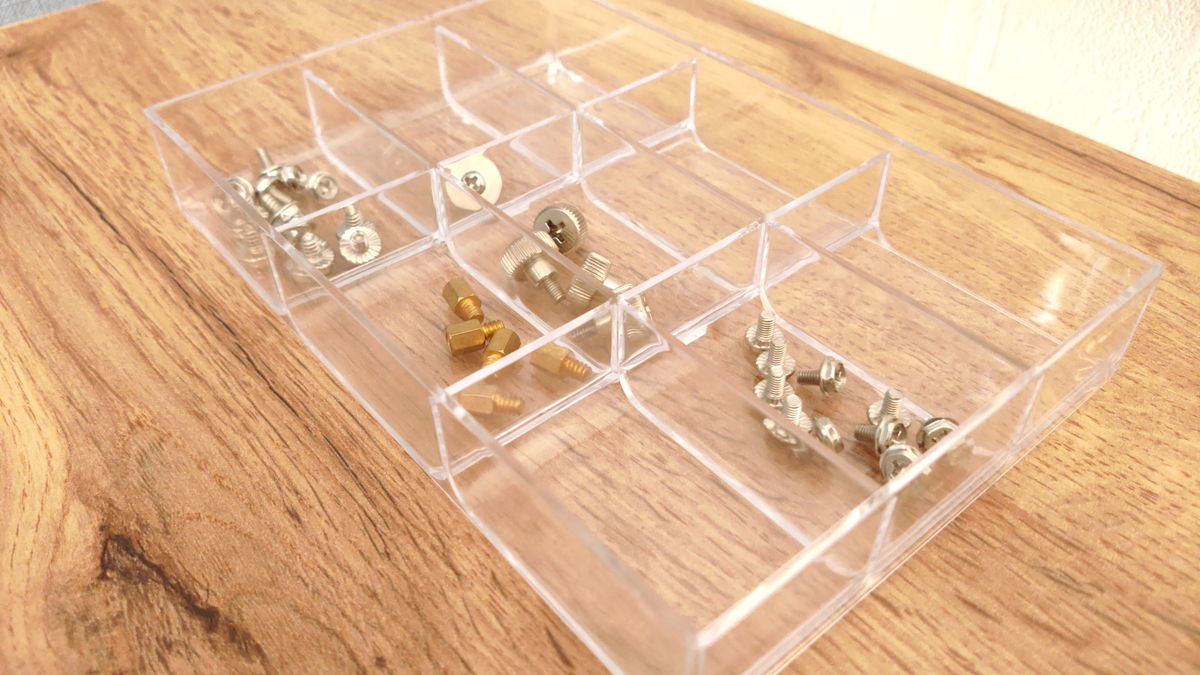
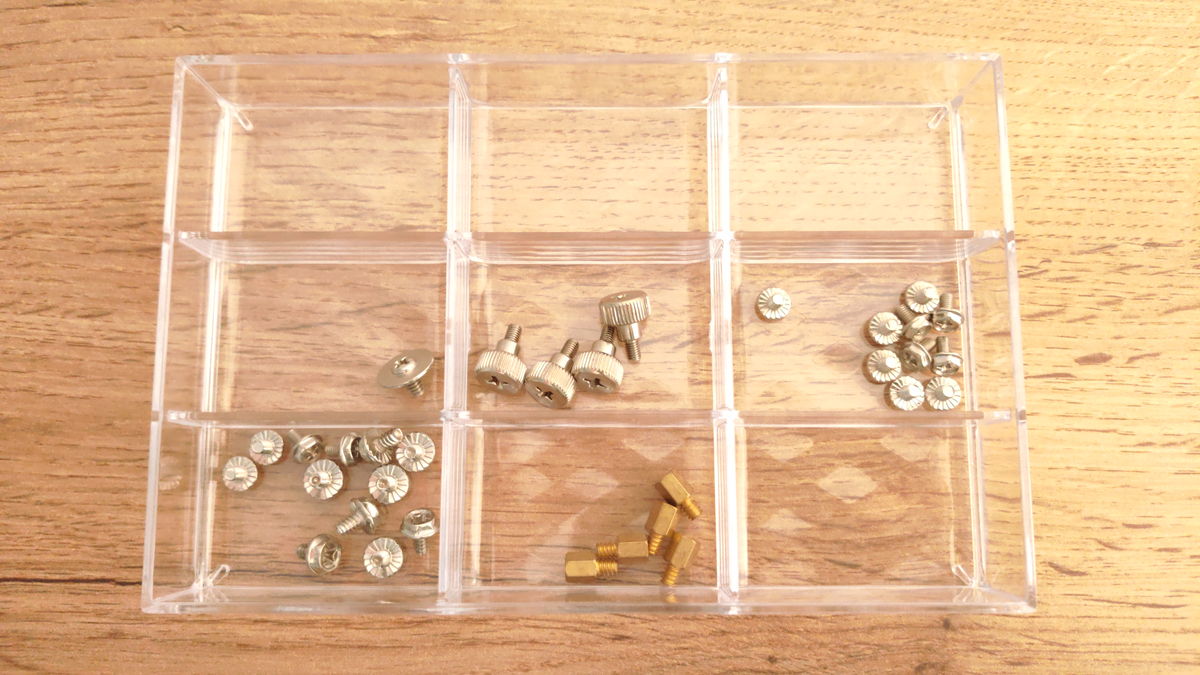
There are many small items like screws and spacers, so it is recommended to use a small parts case with dividers during assembly.
When building a custom PC, there are often many parts, boxes, and manuals spread out, making things messy.
If screws are placed directly on the desk, they will almost certainly get lost.
If too many are lost, you may need to buy more screws, so it is best to keep them together so they do not go missing during work.
Parts That Require Screws in Custom PC Building
This section explains which parts require screws in custom PC building.
Knowing where screws are used before starting assembly will help the process go smoothly.
Images are used for easy explanation, but the process may differ depending on the parts, so check the manuals for each part as needed.
Installing the Motherboard
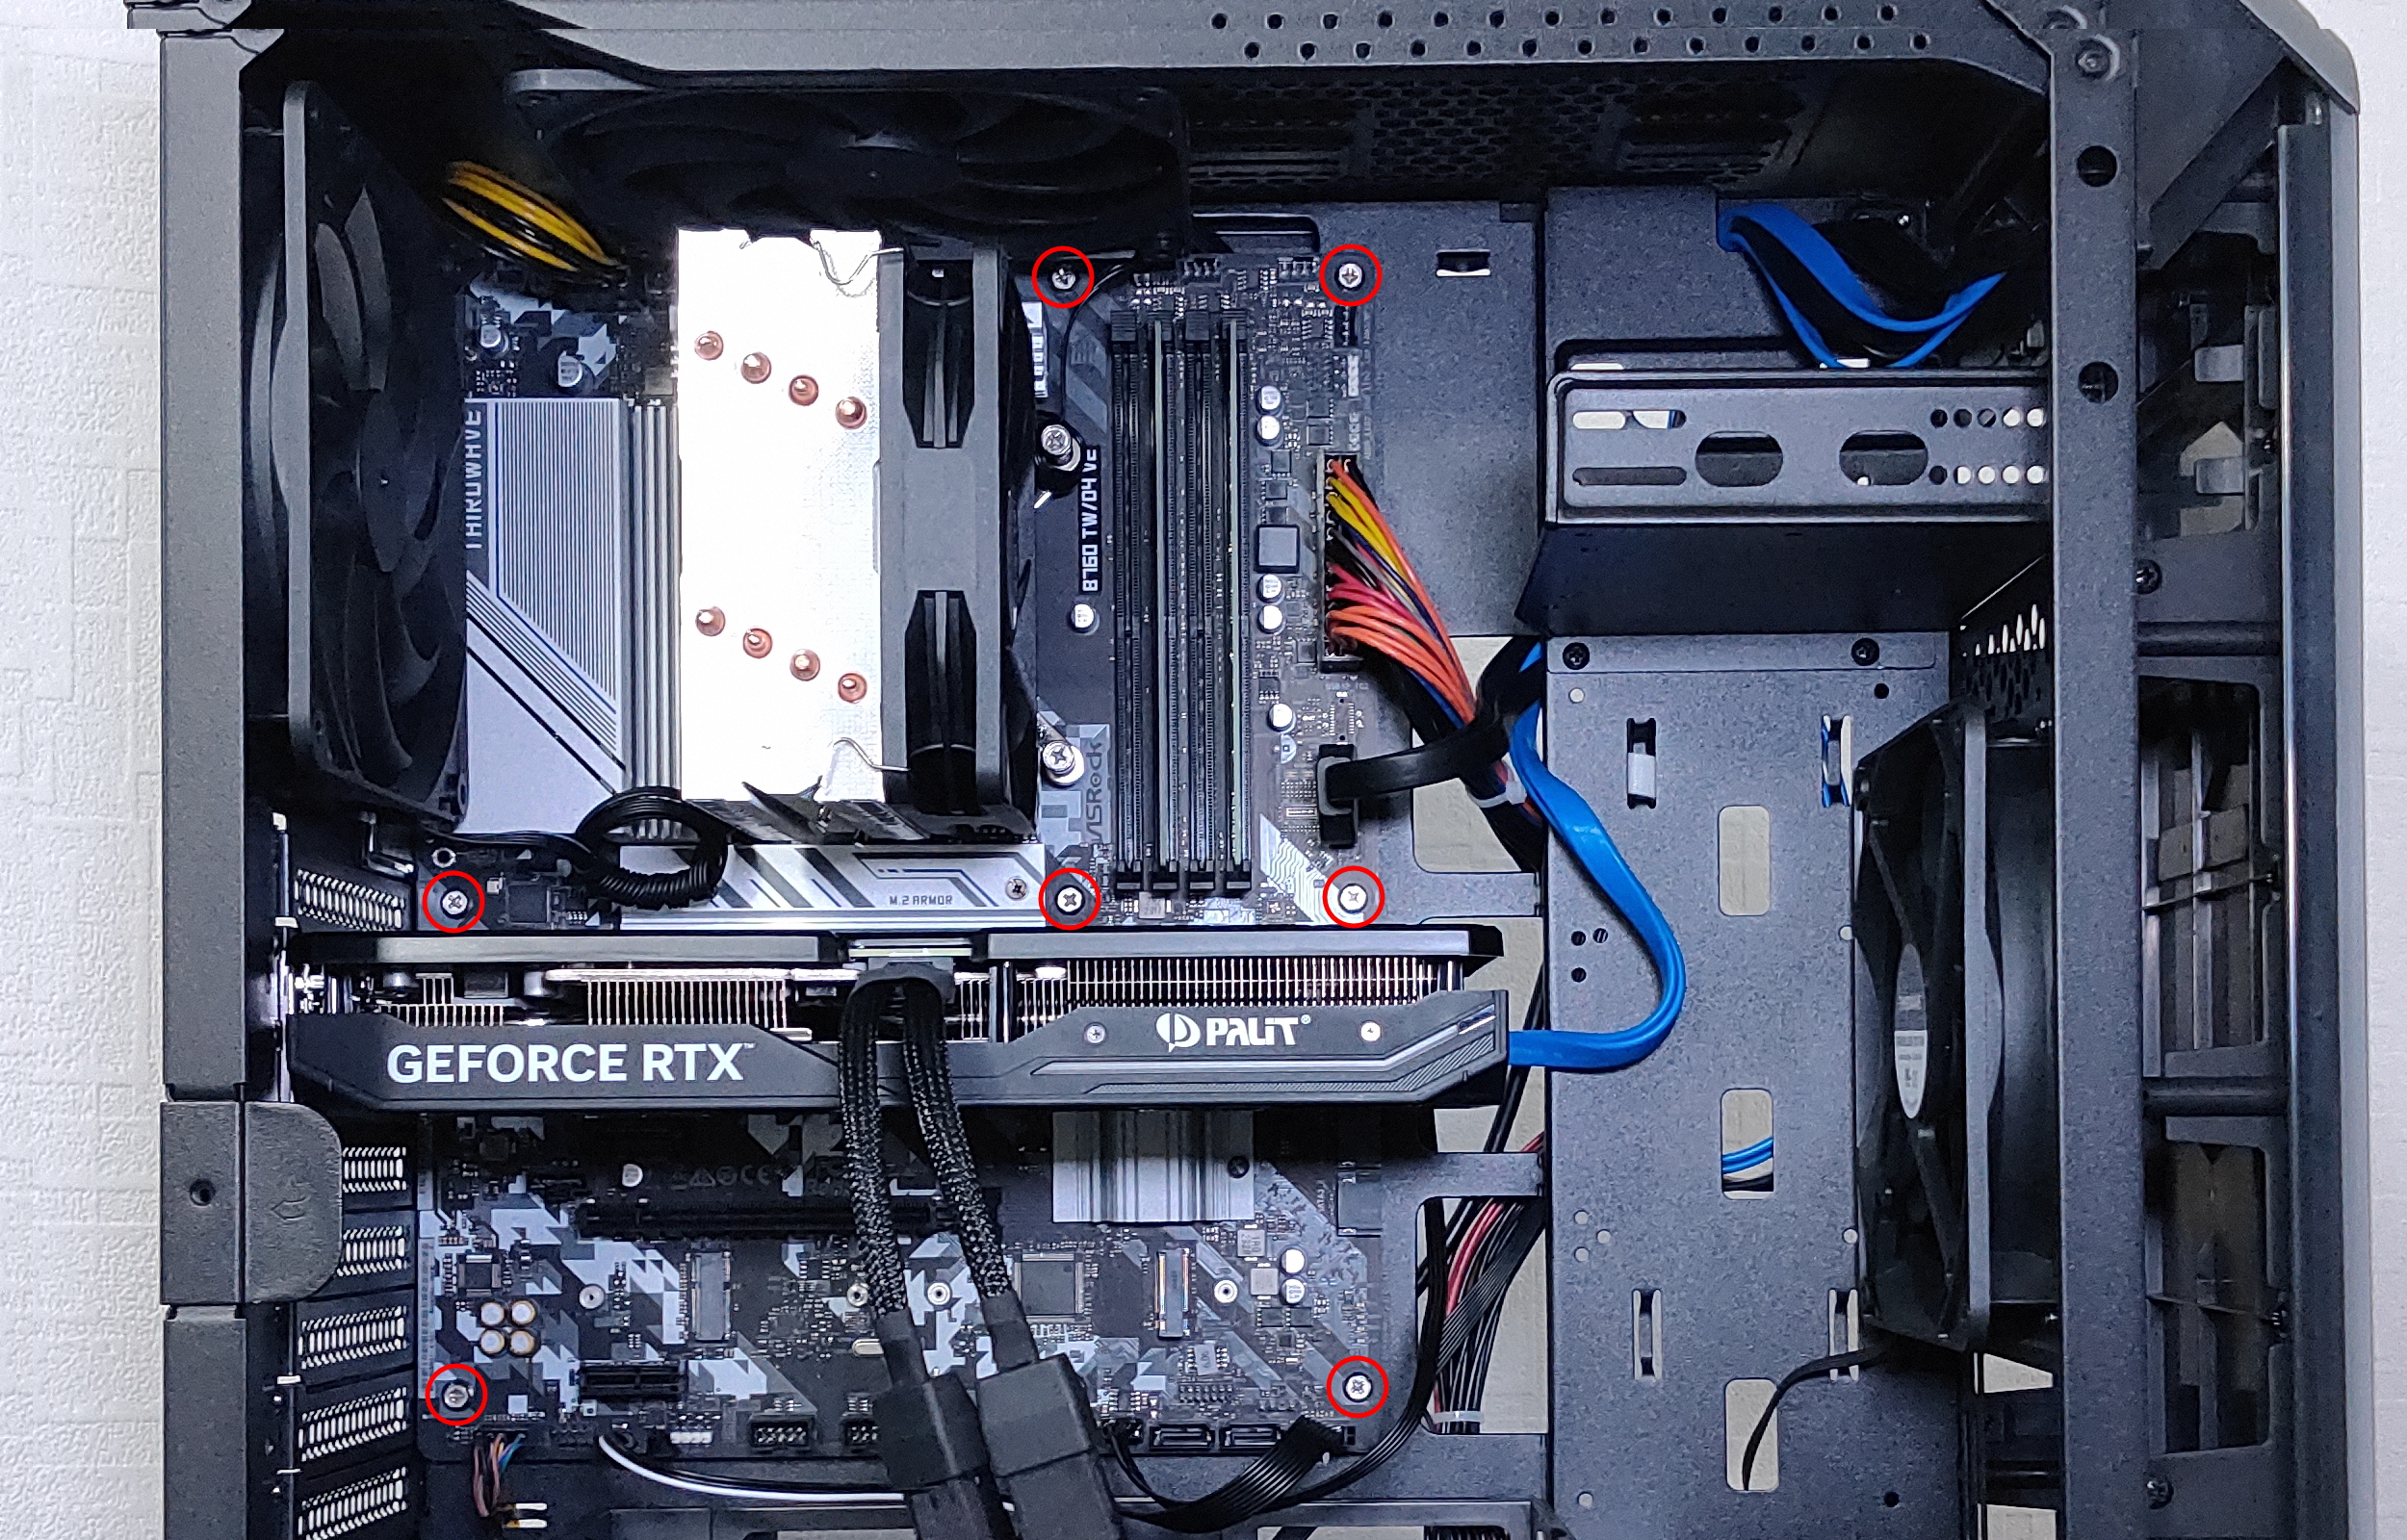
The motherboard is attached to the right side panel of the PC case, using spacers and screws.
First, attach spacers to the holes in the PC case that match the screw holes of the motherboard.
PC cases have many holes to support different motherboard standards.
So, do not attach spacers to all holes in the case; check carefully.
It is a good idea to align the motherboard with the case and check the positions in advance.
Aligning the back panel part of the motherboard and case makes it easier to check.
Next, align the screw holes of the motherboard and spacers, and tighten the screws.
At this point, the CPU cooler should also be installed, so some screw locations may be hard to see or reach with a screwdriver, making the work difficult.
Installing the PC Case Fan
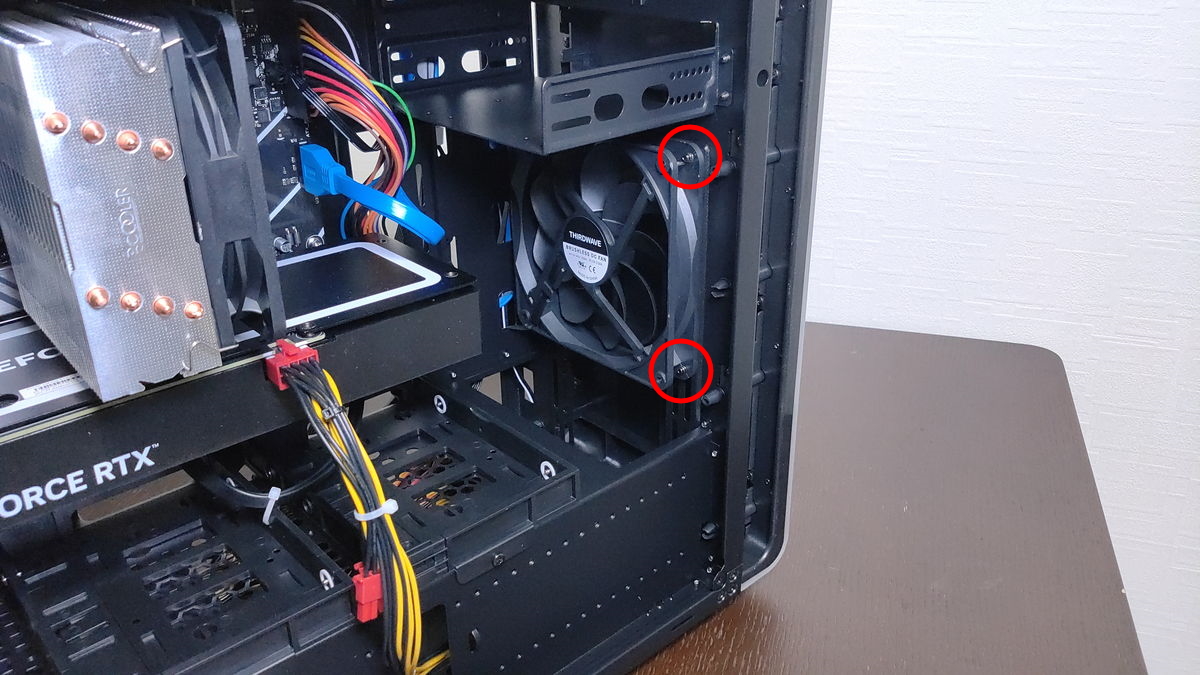
Front side
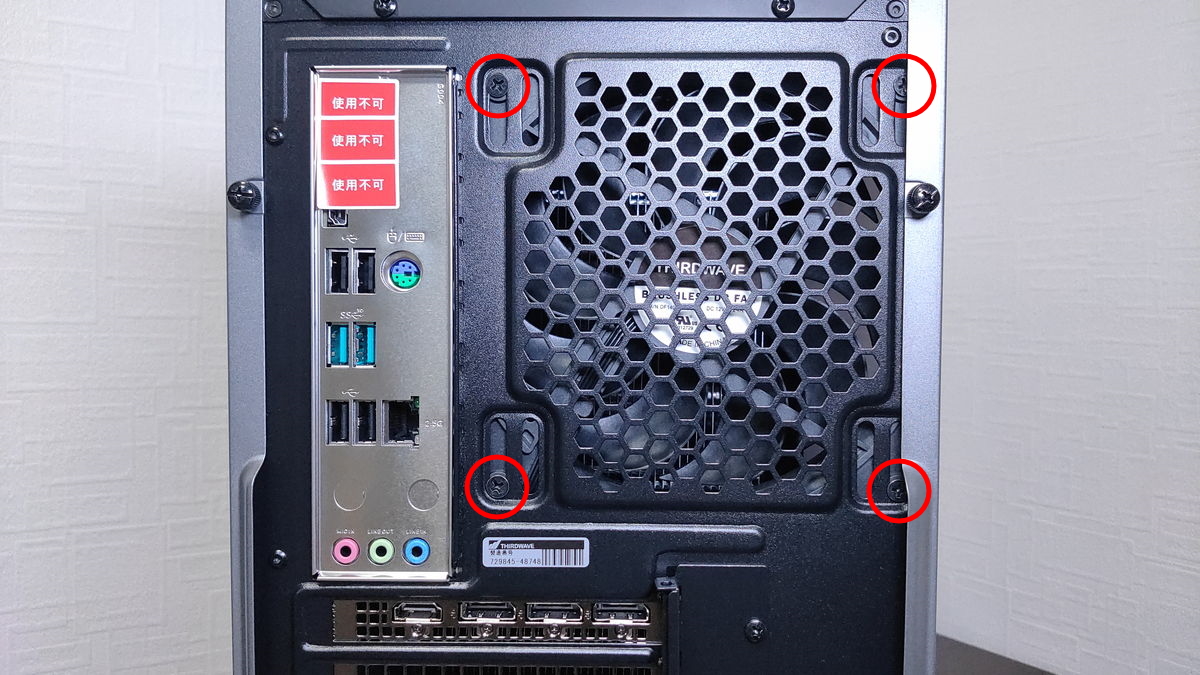
Rear side
Screws are also needed to install the PC case fan.
Case fans often have slotted holes instead of simple screw holes to support different sizes such as 120mm or 140mm.
It is best to temporarily tighten the screws, check the fan’s position, and then fully tighten them.
Try temporarily attaching the fan, sliding it to check the balance, and then tighten the screws.
Installing the CPU Cooler
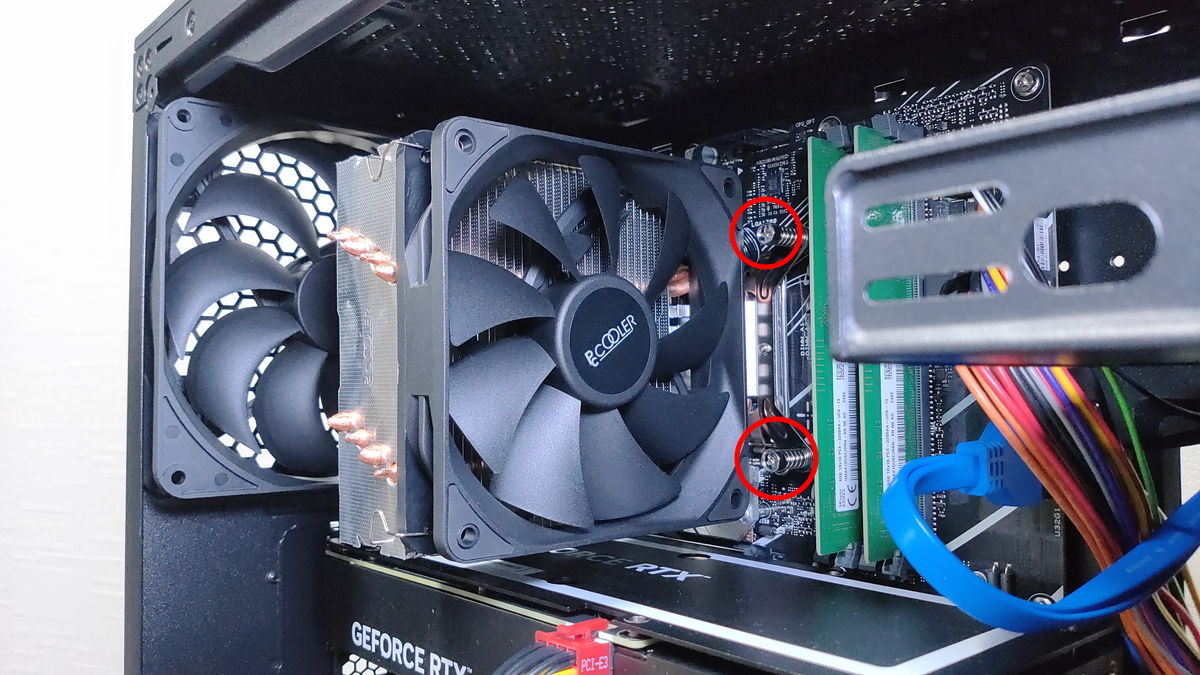
Screws are also used when installing the CPU cooler.
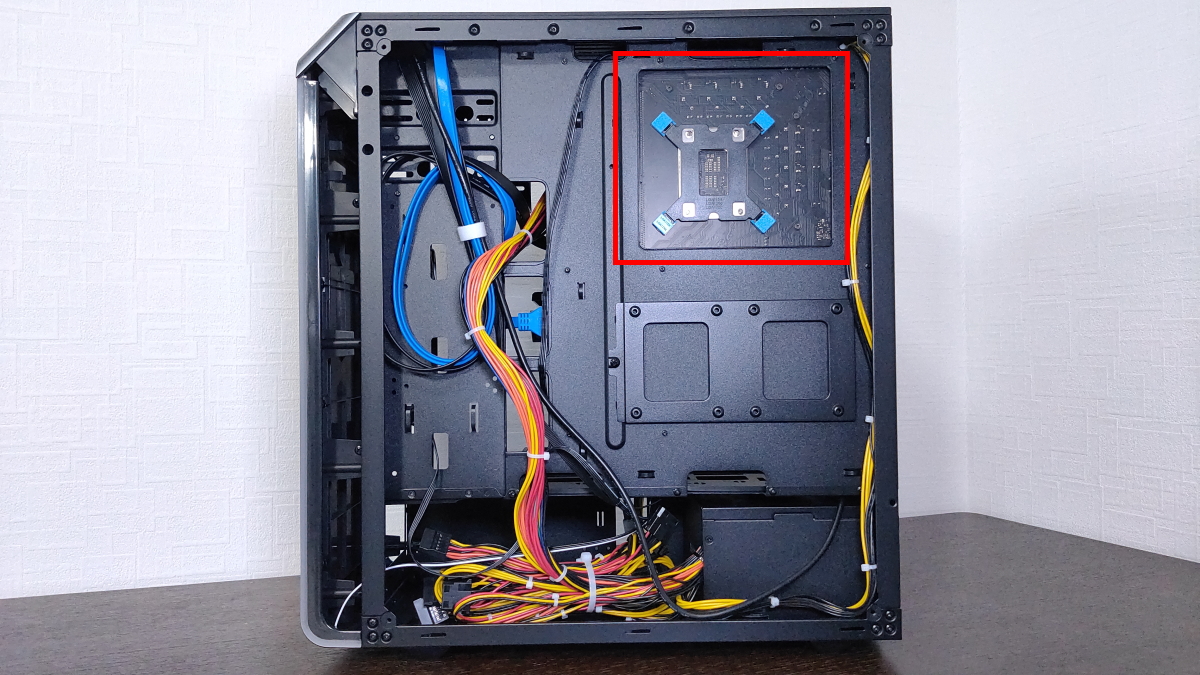
Generally, special screws are needed to secure the CPU cooler’s backplate and the motherboard.
Some types allow screws to be tightened from the front of the motherboard, while others require tightening from the back, so check the manual.
Especially for types that require tightening from the back, if the motherboard is installed in the case before the CPU cooler, it may not be possible to tighten the screws, so be careful about the order.
Some PC cases have openings to allow installation, but sometimes the holes do not match, so it is usually best to install the CPU cooler first.
For all-in-one water-cooled CPU coolers, screws are also needed to attach the radiator.
Installing the Power Supply Unit

When installing the power supply unit, screws are needed to mount it to the rear of the PC case.
Some PC cases support multiple standards, so check which screw holes to use by aligning the power supply unit in advance.
The power supply unit is often secured only at the rear, so it may feel like it is floating inside the case. Hold the power supply unit with one hand and use the screwdriver with the other, which can be tricky.
Using a screwdriver with a magnetic tip makes it easier to install, as it holds the screw in place.
Installing Graphics Cards and Other Expansion Cards
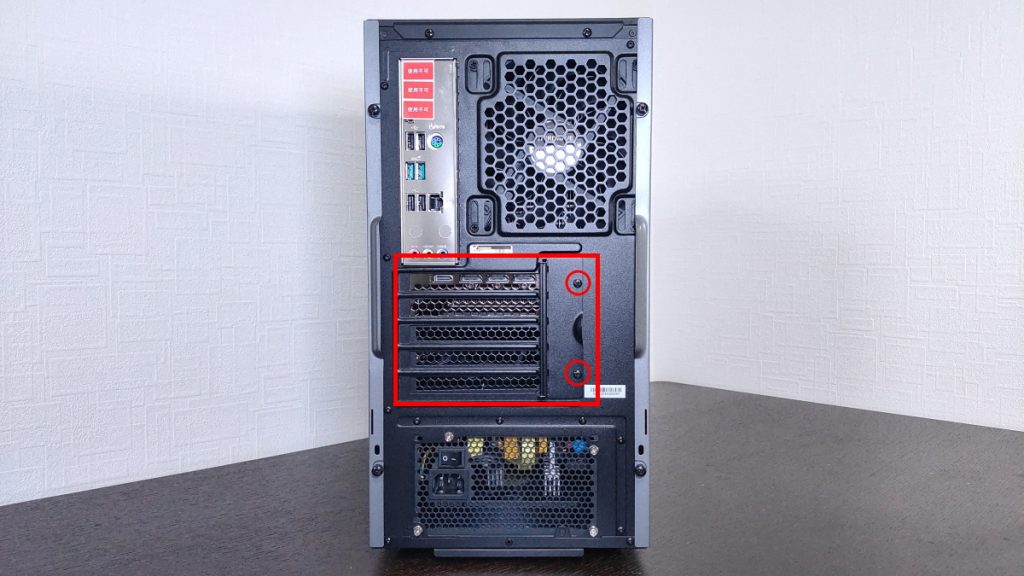
When installing a graphics card or other expansion cards, screws are needed to secure them to the expansion slot area of the PC case.
The card is fixed to the PCI Express slot on the motherboard, so no screw is needed there, but a screw is needed to secure it to the case.
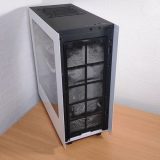
PC Case Cover
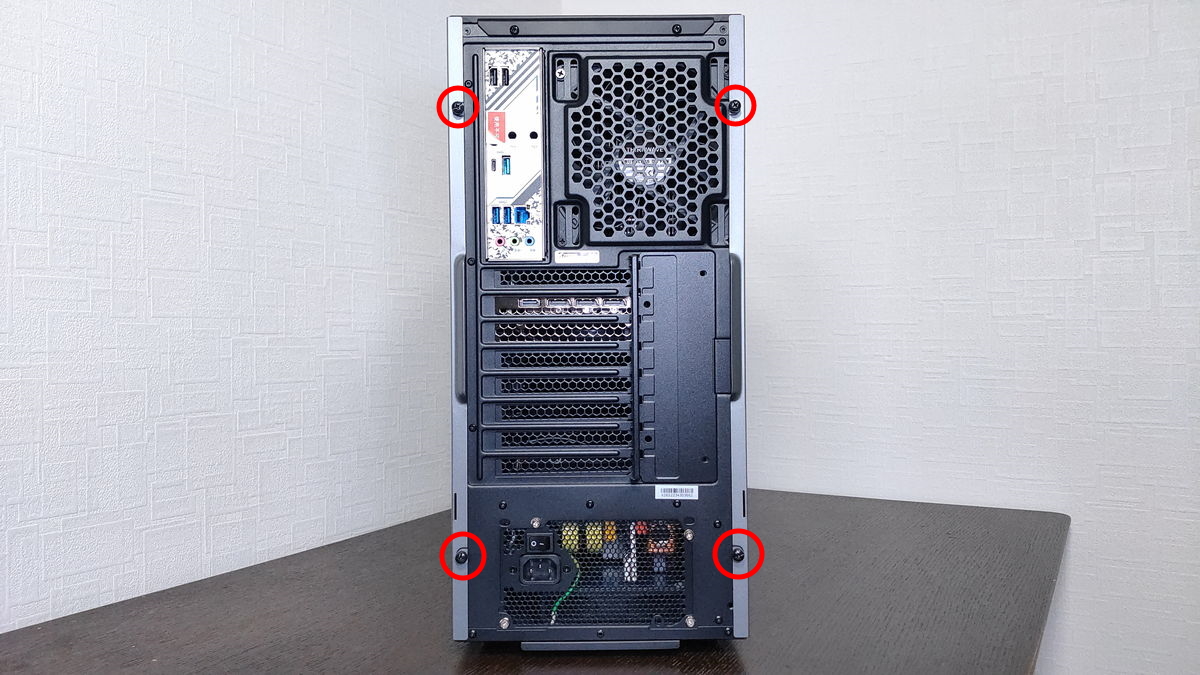
To install parts inside the PC case, the case cover must first be removed.
Most PC cases have screws on the upper and lower ends of the rear side to remove the side panel.
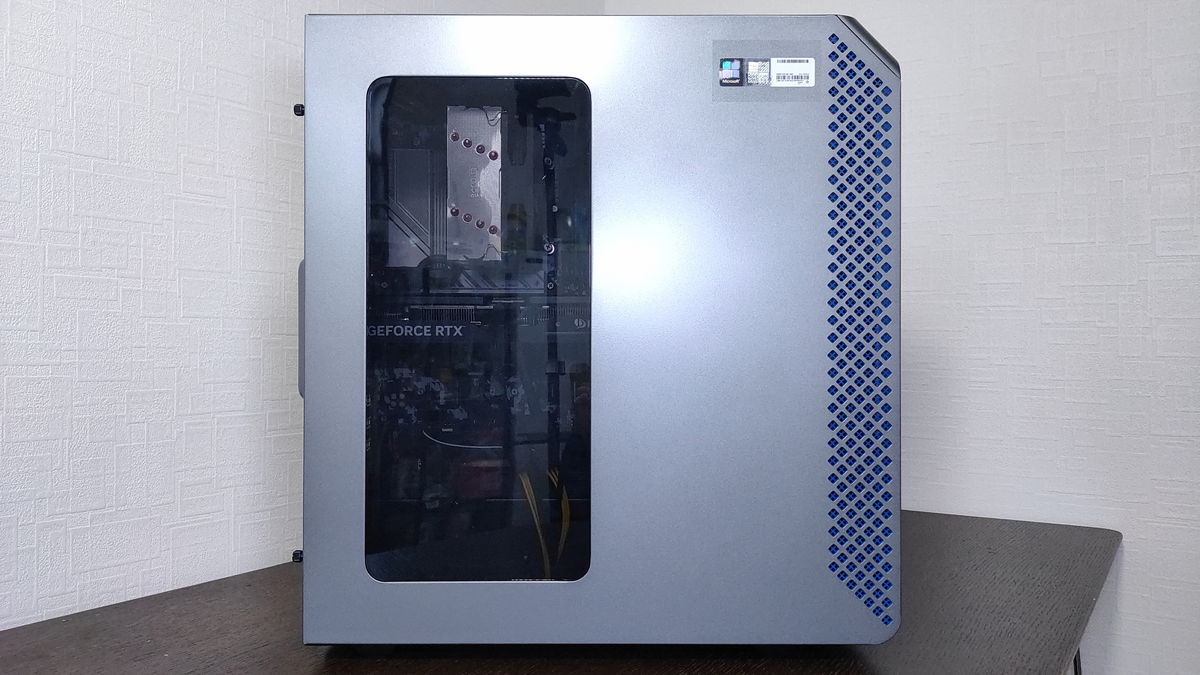
Before opening
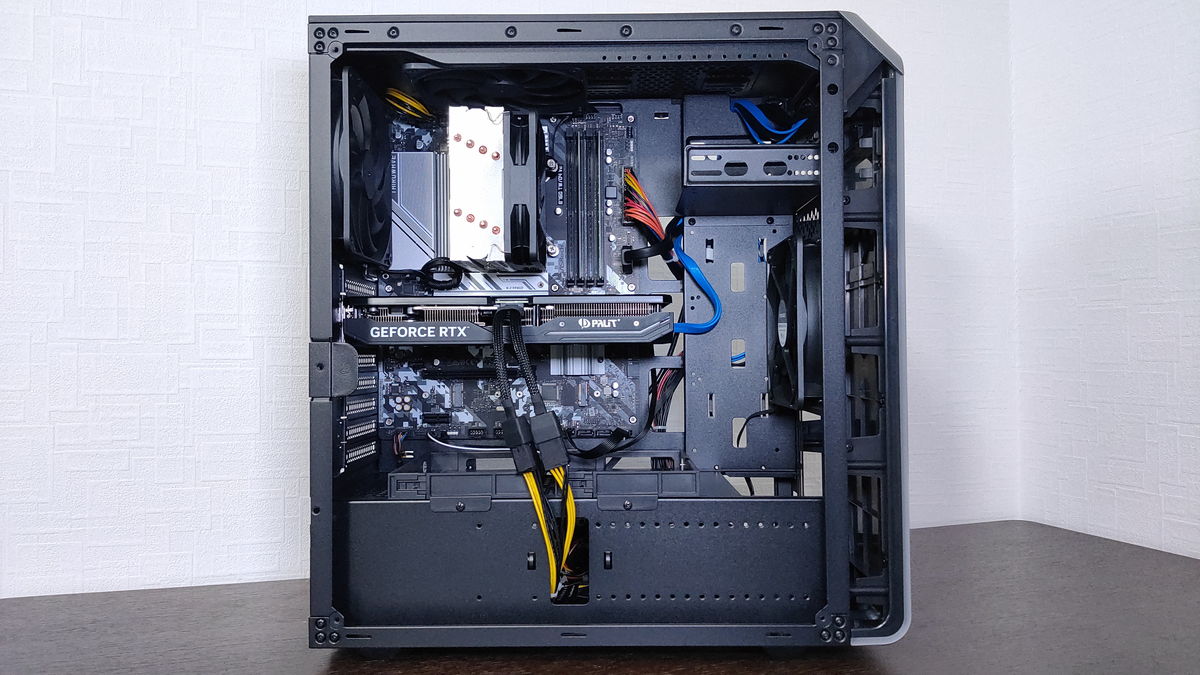
After opening
This is the most common pattern, but some cases have screws on the side panel, or no screws at all and use a lever for one-touch removal.
Depending on the PC case, the top or front panel may also be removable, or the drive cage (for mounting multiple storage devices) may be removable.
Installing SATA SSDs and HDDs
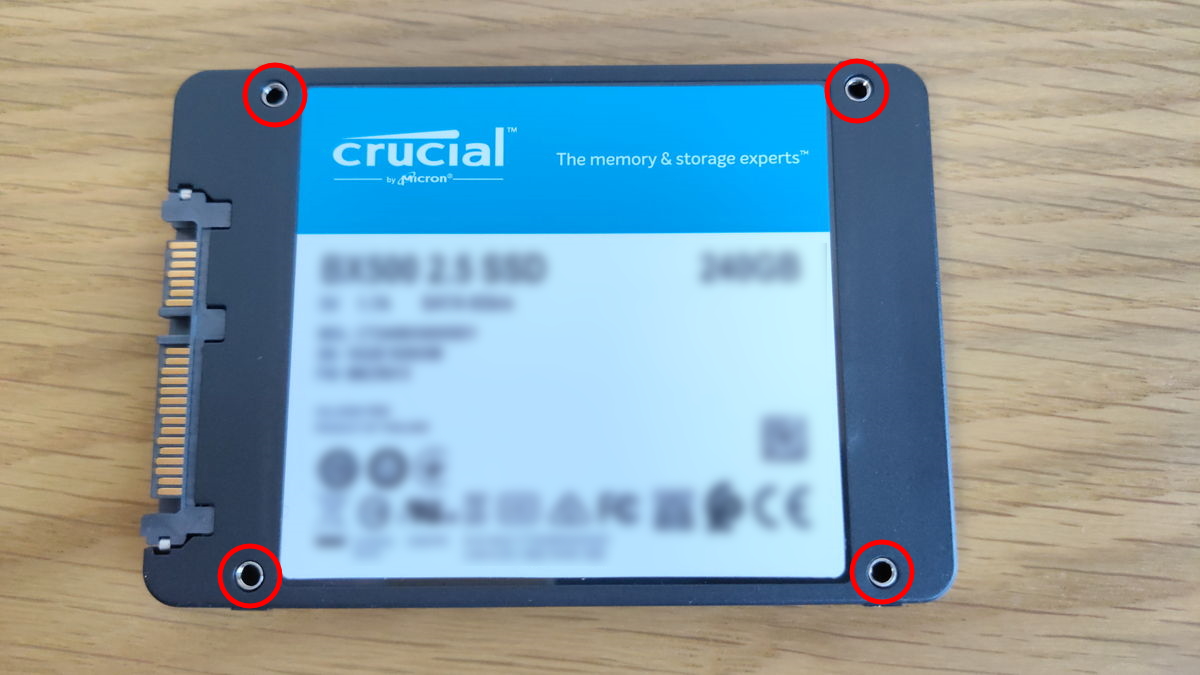
Back of SATA SSD

2.5-inch drive bay on the back side of the PC case
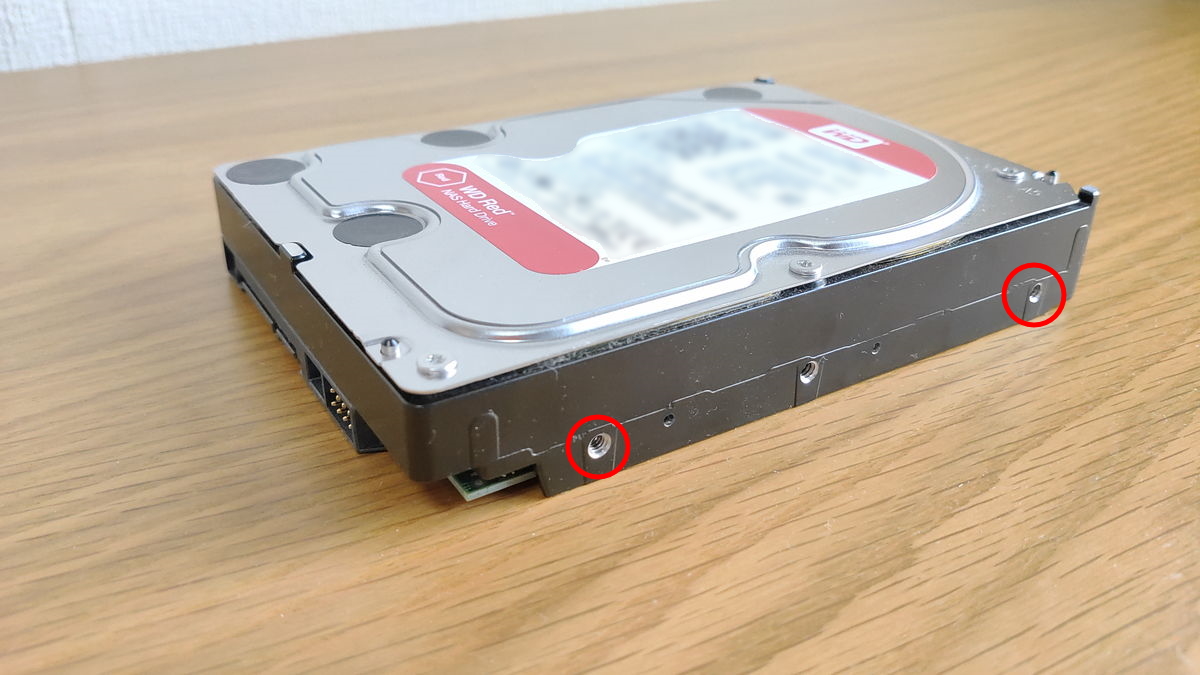
3.5-inch HDD
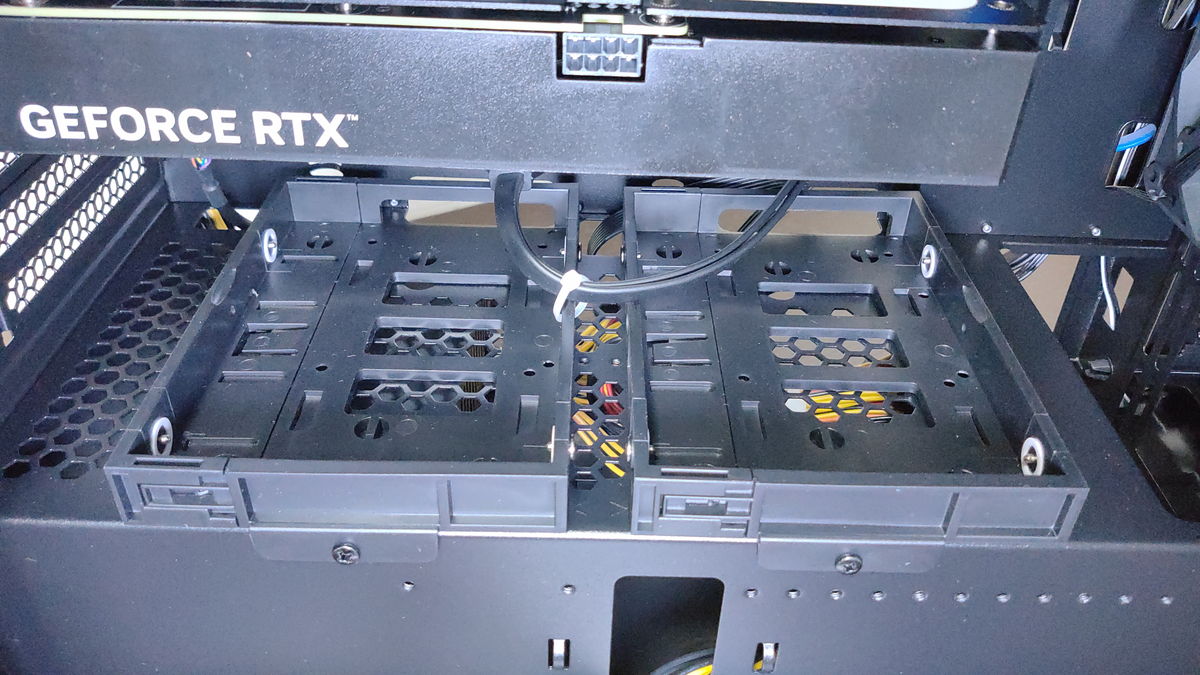
3.5-inch drive bay in the PC case
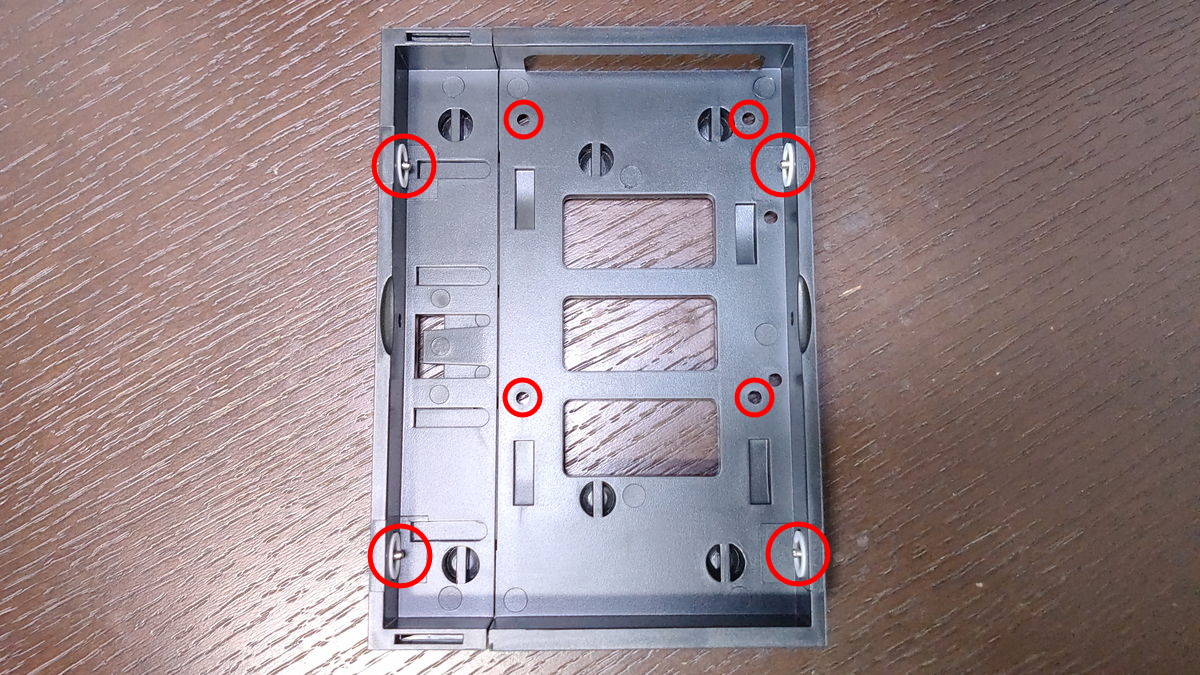
2.5/3.5 shared bay (HDD: both sides are clamped / SSD: use four screw holes)
SATA SSDs and HDDs need to be secured to the drive bay in the PC case, which requires screws.
Depending on the PC case, the process may differ, but for the type shown in the images, the steps are:
- Remove the drive bay base from the PC case.
- Attach the storage device to the drive bay base.
- Install the drive bay base back into the PC case.
Some cases do not allow the drive bay base to be removed, so check the manual for your PC case.
As shown in the images, some HDDs can be installed just by clamping both sides.
Screws are included with the PC case or motherboard, but if you have many storage devices, you may need to buy extra screws.
Installing M.2 SSDs

M.2 SSD
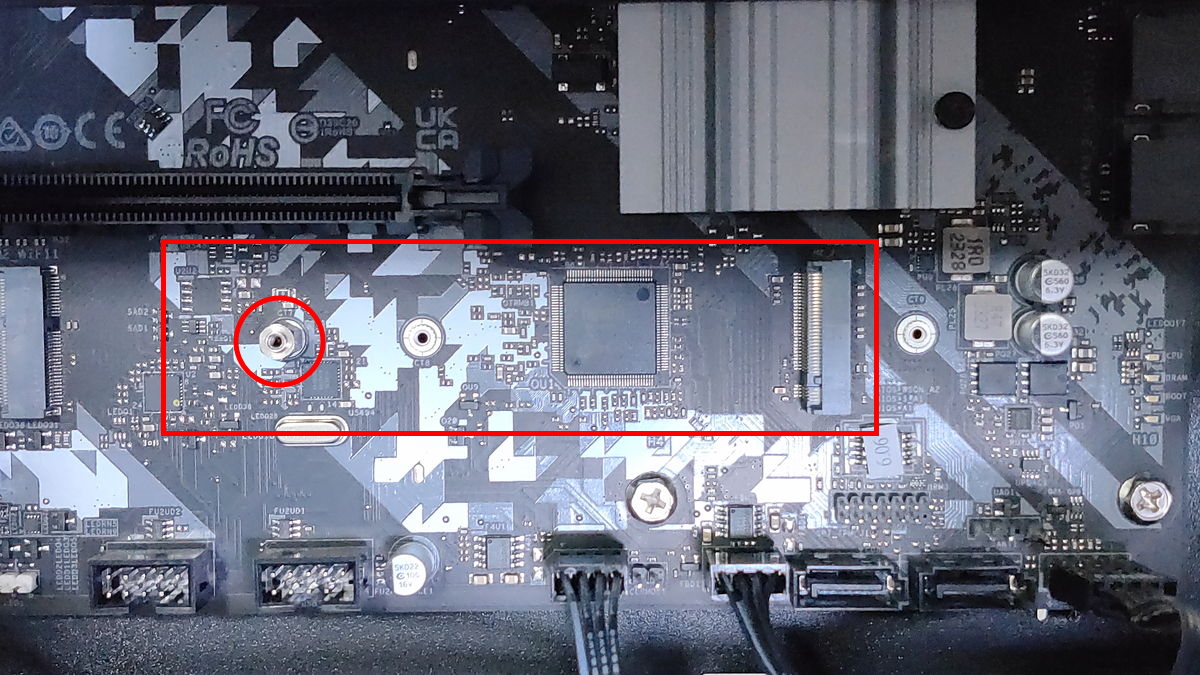
M.2 SSD slot on the motherboard
When installing an M.2 SSD, use a special small screw.
This screw is very small and is designed to fit the screw hole near the M.2 slot on the motherboard.
A precision screwdriver is needed for these small screws, unlike other screws.
Because the screws are so small, if dropped inside the case, they are hard to find, so a screwdriver with a magnetic tip is strongly recommended.
After inserting the M.2 SSD into the slot, tighten the screw on the side opposite the connector.
If only inserted into the slot, the SSD will stick out at an angle, so hold it down with your finger while tightening the screw.
Because the screws are so small, this is a very delicate task.
≫ Related article: How to Choose Storage (SSD/HDD) for Custom PCs [Performance / Features / Compatibility]
Summary: Never Mix Up Metric and Inch Screws!
This article explained the types and standards of screws used in custom PCs, which parts require screws, and tips for tightening screws.
If the wrong screw is used or a screw is forced, it can cause the board to warp or break, so be careful.
Here are the key points again:
- Screws are used in various places to secure parts
- Screws are included with the PC case or motherboard, so purchasing is usually unnecessary
- There are three types: metric screws, inch screws, and small screws for M.2 SSDs
- Metric and inch screws can be distinguished by their pitch (groove width)
- Tip for tightening screws ①: Use less torque (gentle force)
- Tip for tightening screws ②: Temporary tightening and final tightening
- Tip for tightening screws ③: Diagonal tightening
There is nothing particularly special that needs to be done just because it is a custom PC, so if you have used screws before, you should be fine.
Select PC parts and online stores to instantly generate an estimate, check compatibility, and calculate power requirements. You can save up to five different builds, making it easy to try out multiple configurations.
≫ Tool:PC Parts Estimation & Compatibility Check Tool